# Stories
# Edit Home View Content
Most of the items on a story's Home view belong to its Story Details; information like Title, Genre or Synopsis that would likely appear if the story was listed somewhere.
To edit any of these Story Details:
- Hover over an item. If it's editable, you should see a rollover state.

- Click the item and the Edit Window will open and put focus on its form field.
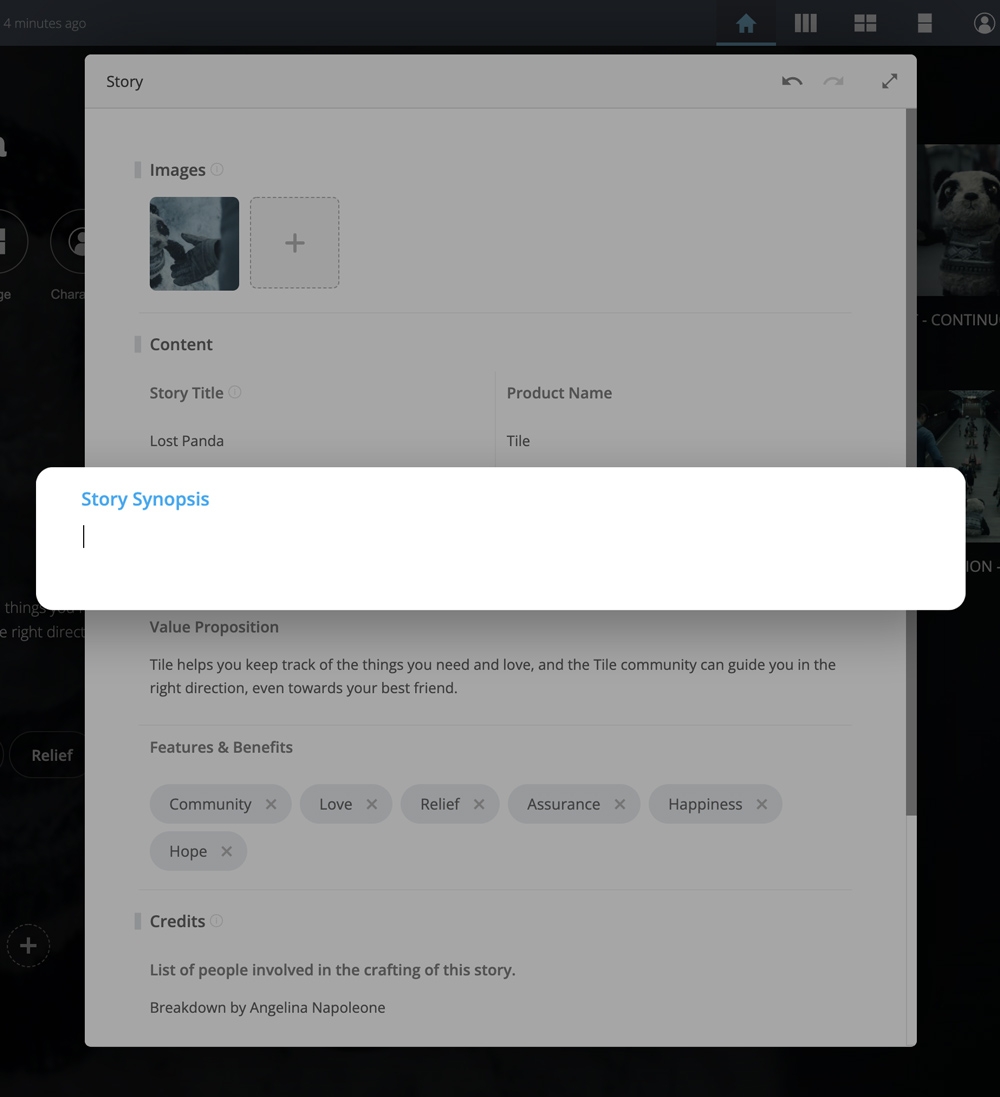
- Make your changes
- Click anywhere outside the Edit Window to close it
Note
You can edit these same Story Details by clicking Edit Details in the
Actions Menu in the header.
# Add a Primary Image
You can add multiple images to your story, but the Primary Image will show up in the background of the Home view, and as a thumbnail when the story listed.
- Click
Edit Details in the story’s
Actions Menu.
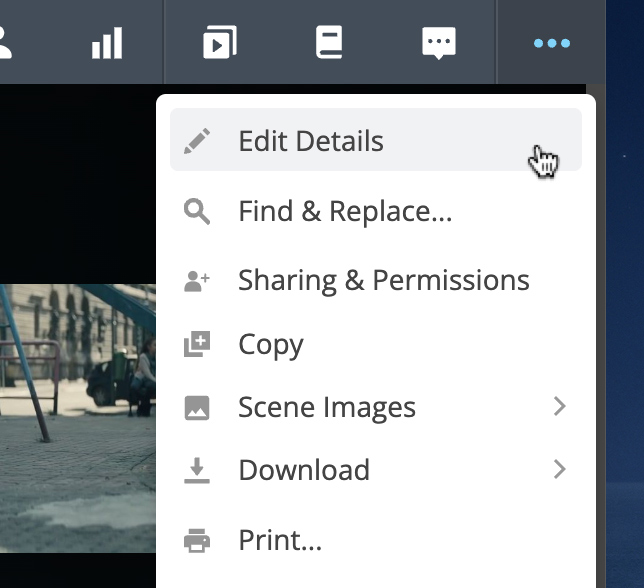
- Go to the Images section and click the + Add button. You can add as many images as you like, but the one you set as primary will become your story's main background and thumbnail.

- To set the image as primary, click the Star Icon in the image preview.

Note
We discuss image search and upload options further in the Add Scene Images section.
# Change Story Structure
Stories are made from templates, and each template uses a specific structure. You can change your story's structure by "borrowing" one from another template. You can also make a copy of any structure and customize it to fit the needs of your story.
Let's start by going over the simple act of changing to another pre-existing structure:
# Switching to a Different Structure
- Open your story and from the top
Actions Menu, select
Advanced Settings...

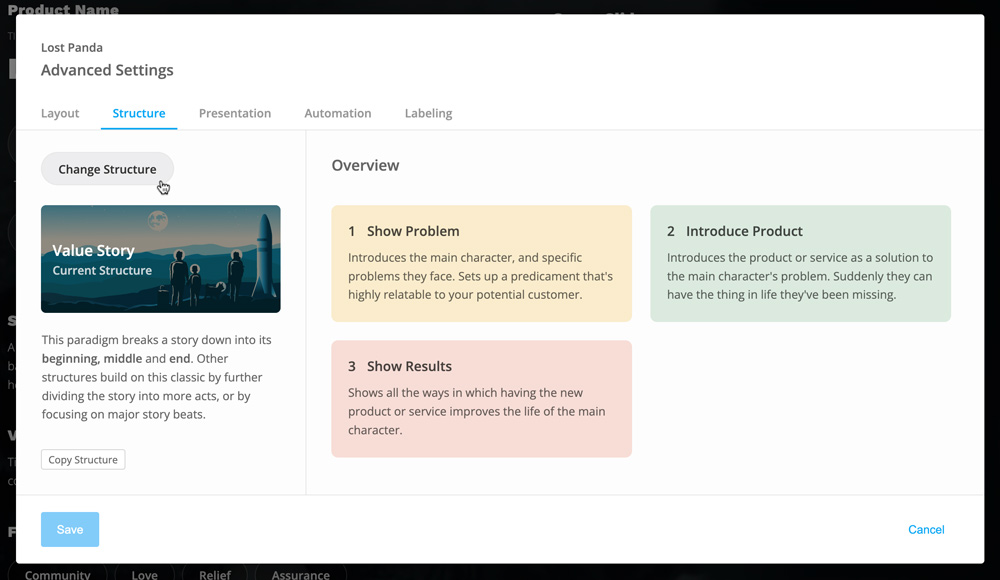
- Open the Stucture tab. You will see information about your current structure.
- Click Change Structure.
- Select a new structure from the list to learn more about it, or just click Switch To right on the item.
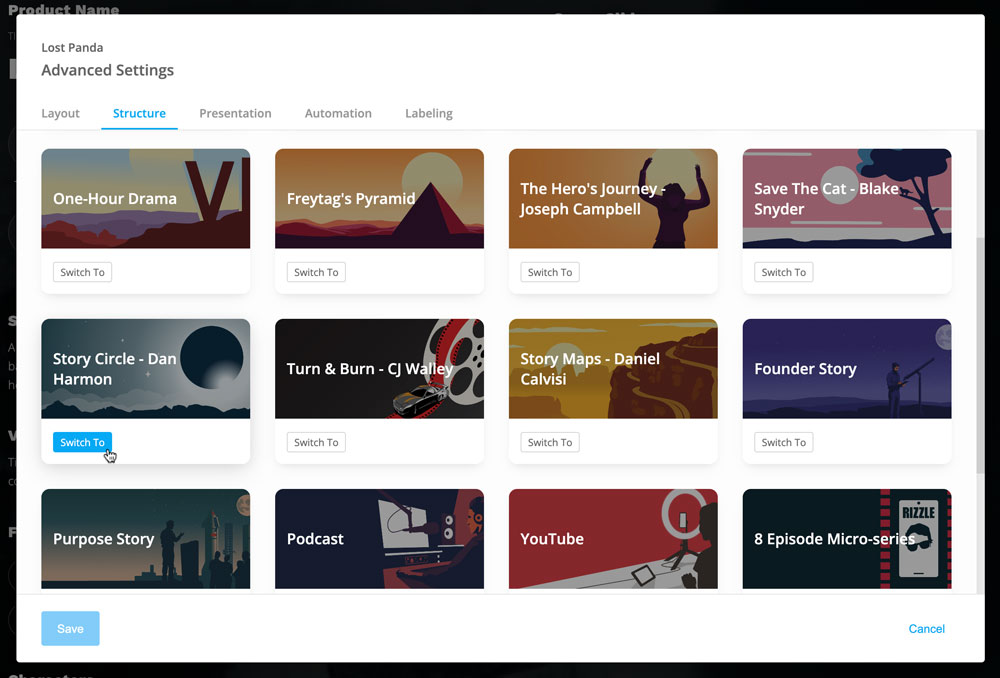
- Click Save and the browser will reload your project with the new structure enabled.
# Customizing a Structure
Open your story and from the top
Actions Menu, select
Advanced Settings...

Open the Stucture tab. You will see information about your current structure.
Click Copy Structure below the structure information.
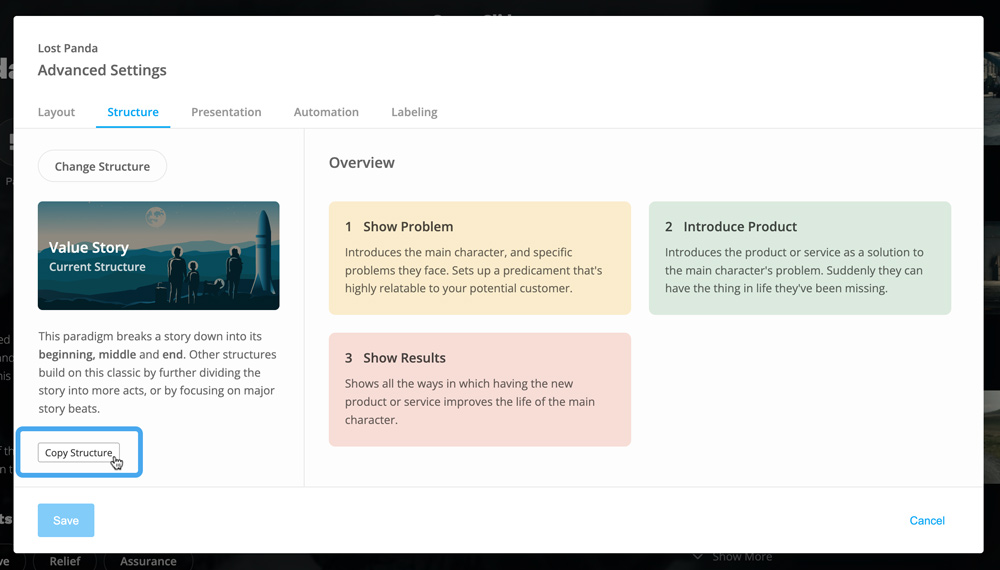 This will update the interface to include an editable title, description, and act list.
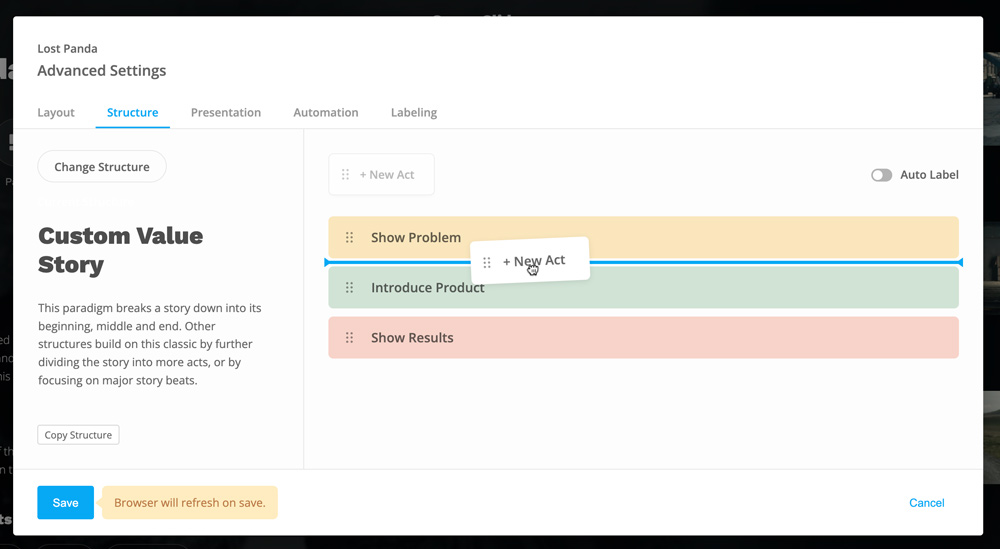 You can change the following items in your custom structure:
- Title - The name of your custom structure
- Description - A brief description of your custom structure
- Act List - Add, remove, or reorder acts (must have at least three)
- Labels - Rename each act, or automatically label them with Roman numerals or numbers with a repeating identifier e.g. Chapter 1, Chapter 2, etc.
- Colors - Change the color of each act
- Tooltips - Add a tooltip to each act to help guide the writer
Make any changes you desire and click Save. The browser will reload your project with the new structure enabled.
# Adjust Act Boundaries
You can very easily change which act scenes belong to by dragging the transition point between two acts.
 This can be handy after switching to a new act structure because scenes won't always end up where you want them.